How to Change DNS Server on Android [A Step-by-Step Guide]
![How to Change DNS Server on Android [A Step-by-Step Guide]](/content/images/size/w2000/2024/08/how-to-change-dns-server-on-android.webp)
Changing your DNS server on an Android device can improve your internet speed, enhance privacy, and bypass regional restrictions. Here’s a simple step-by-step guide on how to do it.
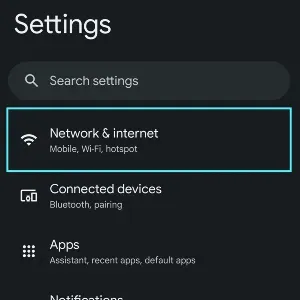
Step 1: Access Wi-Fi Settings
- Open the Settings App: Start by opening the Settings app on your Android device.
- Go to Wi-Fi: Tap on Wi-Fi under the network connections.
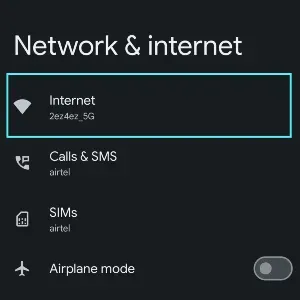
Step 2: Modify the Network
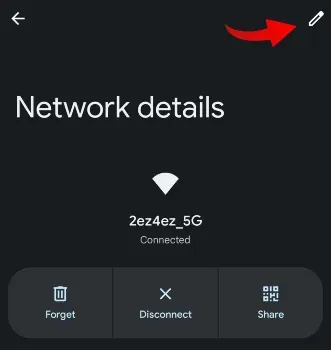
- Select Your Wi-Fi Network: Tap on the Wi-Fi network you are connected to or wish to configure.
- Modify Network Settings: Depending on your device, you may see options like "Modify Network" or "Advanced". Tap on it.
- If you don't see this option directly, you might need to long-press on the Wi-Fi network name and then select Modify Network.
Step 3: Set a Static IP Address
- Change IP Settings: Scroll down and find the IP settings option. By default, it’s set to DHCP.
- Switch to Static IP: Change it to Static.
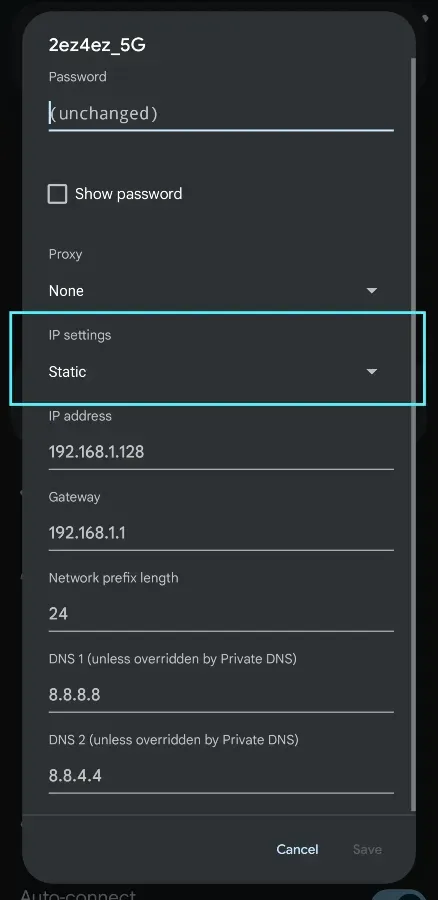
Step 4: Enter DNS Server Addresses
- Enter DNS 1 and DNS 2: You’ll see fields for DNS 1 and DNS 2. Here, you can enter the DNS server addresses of your choice. For example:Replace these with your preferred DNS server addresses if you have others in mind.
- DNS 1: 1.1.1.1 (Cloudflare)
- DNS 2: 8.8.8.8 (Google DNS)
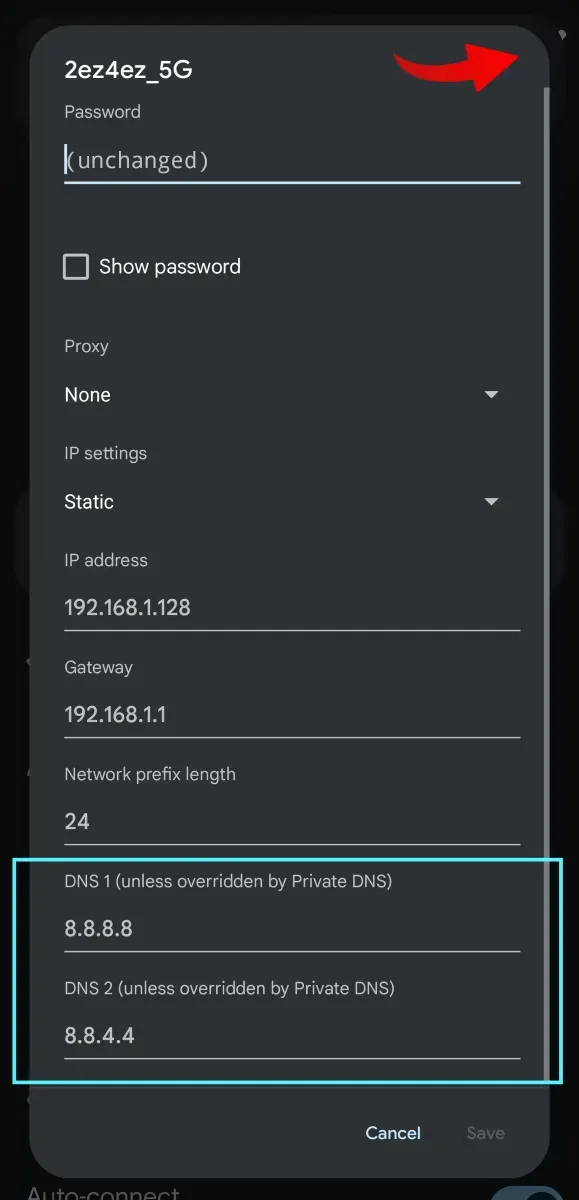
Step 5: Save Changes
- Save the Network Configuration: After entering the DNS addresses, save the changes by tapping on Save or OK.
Step 6: Reconnect to Wi-Fi
- Reconnect to the Network: Your device will disconnect and reconnect to the network using the new DNS settings.
Conclusion
Changing the DNS server on your Android device is a simple process that can lead to faster browsing, better security, and access to restricted content. Whether you’re looking to improve your gaming experience or just want a safer browsing environment, these steps will help you easily configure your DNS settings.
If you encounter any issues or want to revert back, simply follow the steps above and switch the IP settings back to DHCP.